Transitioning from plain, blank stock boxes to fully customized packaging is a major milestone for any brand. It elevates your product, justifies a higher price point, and turns a simple delivery into a memorable, shareable unboxing experience.
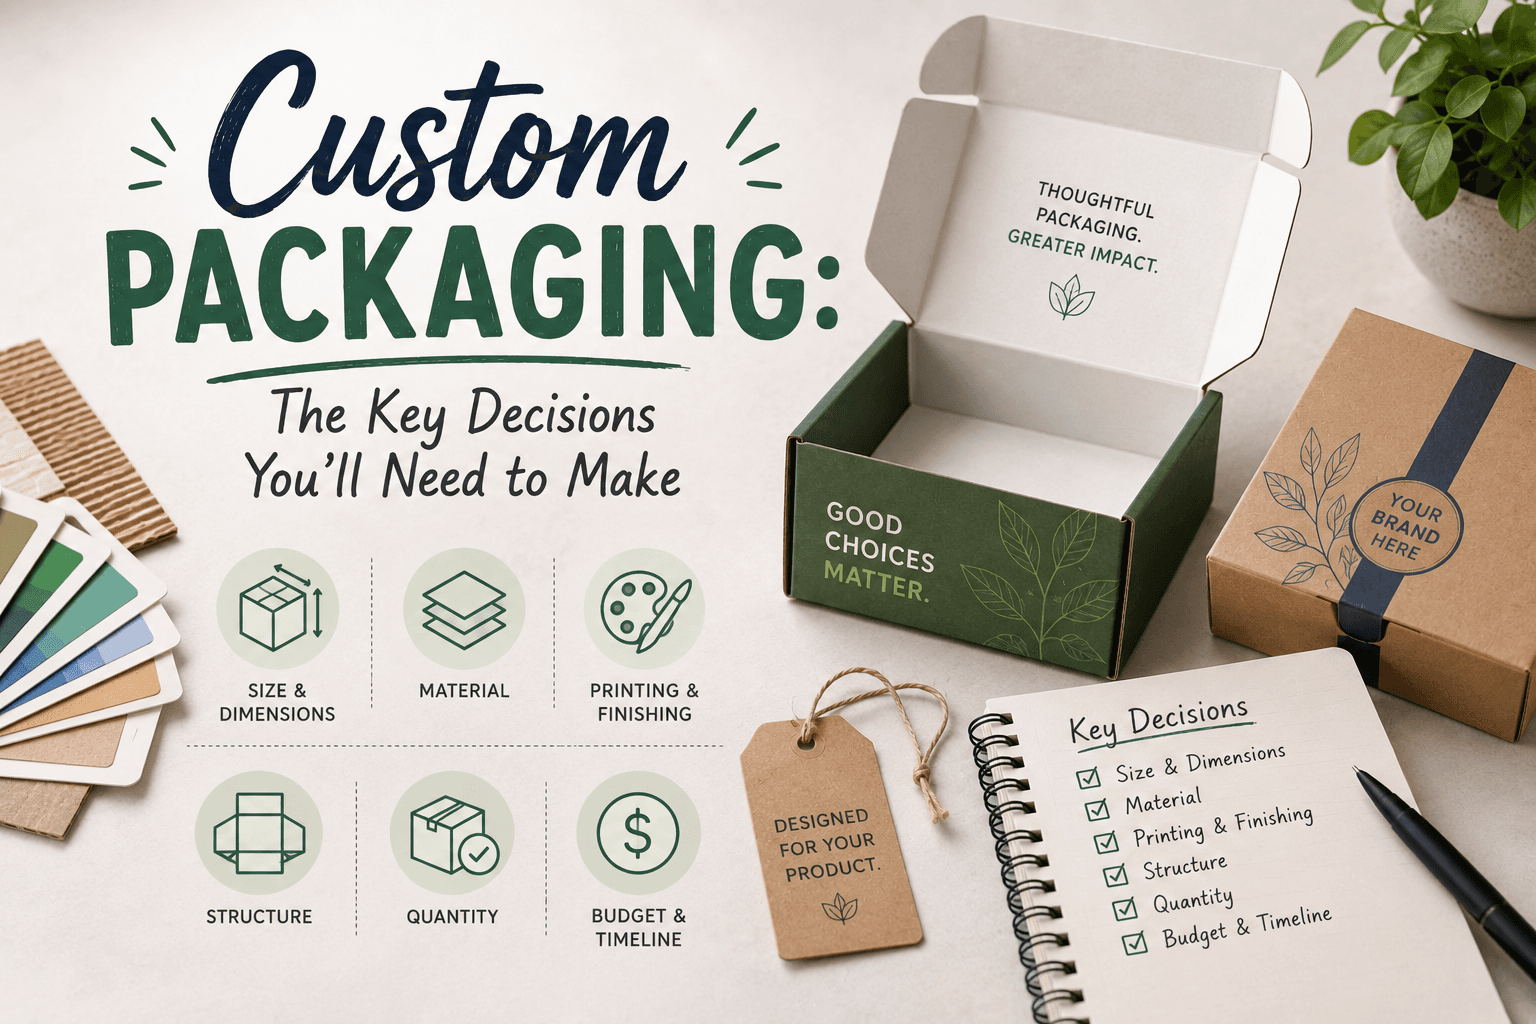
However, bringing a custom box to life requires a sequence of critical decisions. You have to merge graphic design (colors, fonts, logos) with structural engineering (paper weights, folds, finishes). If you are new to the process, the options can feel overwhelming.
To help you navigate the journey from concept to final production, the experts at Printline have created this comprehensive, step-by-step guide to preparing your first custom packaging run.
- Start with Strategy: Define your brand identity, colors, and audience before you start designing.
- Format & Material: Your product's weight and fragility dictate your structural format (carton vs. corrugated) and paper thickness (GSM).
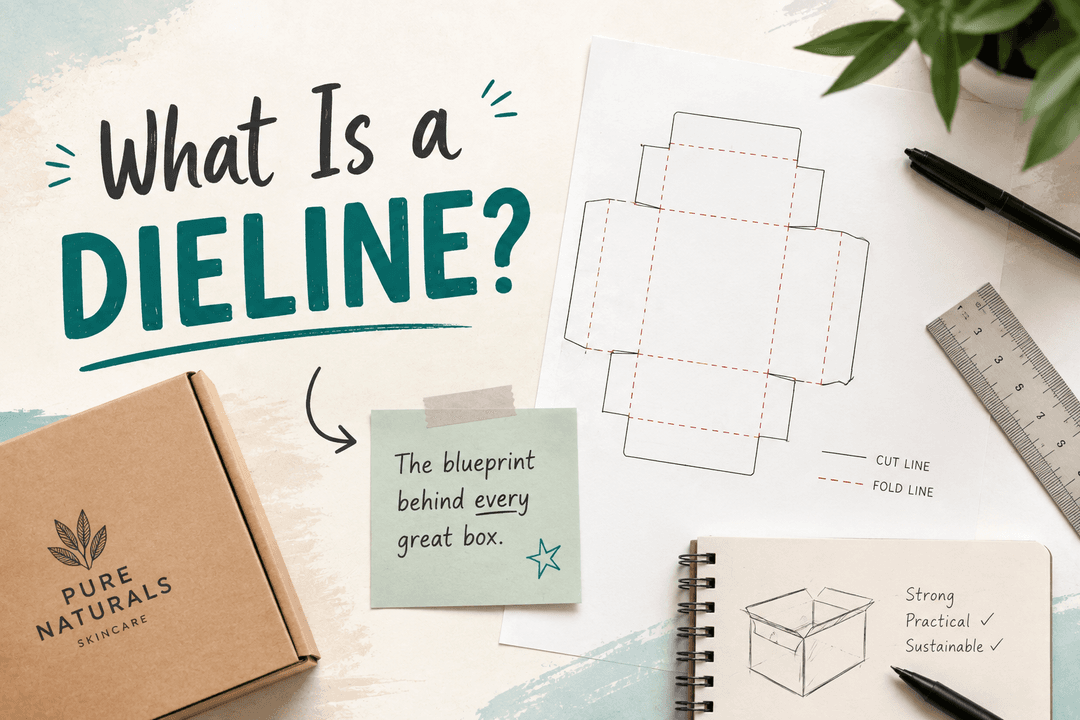
- The Dieline: Graphic design must be applied to a structural blueprint (a dieline) provided by your manufacturer.
- Finishes Add Value: Embellishments like embossing, foil stamping, and spot UV elevate your packaging from standard to luxury.
- Never Skip the Proof: Always review a digital or physical prototype before moving to mass production.
Step 1: Define Your Brand Strategy & Audience
Before you think about paper thicknesses or structural shapes, you must define the emotional response you want your packaging to evoke. Your packaging is your most direct marketing tool.
- Color Psychology: Colors dictate the mood of your product. Earth tones communicate sustainability; black and gold suggest luxury; vibrant neons scream energy and youth.
- Typography: Ensure your fonts are highly legible and align with your brand guidelines.
- Know Your Audience: Are you designing a clinical, clean box for a pharmacy shelf, or a highly viral, heavily branded e-commerce unboxing experience for Gen-Z? Your target audience will dictate every decision that follows.
Step 2: Choose the Right Physical Format
Once your strategy is set, you must decide on the physical structure that will hold your product. Your choice here depends entirely on your product's physical needs.
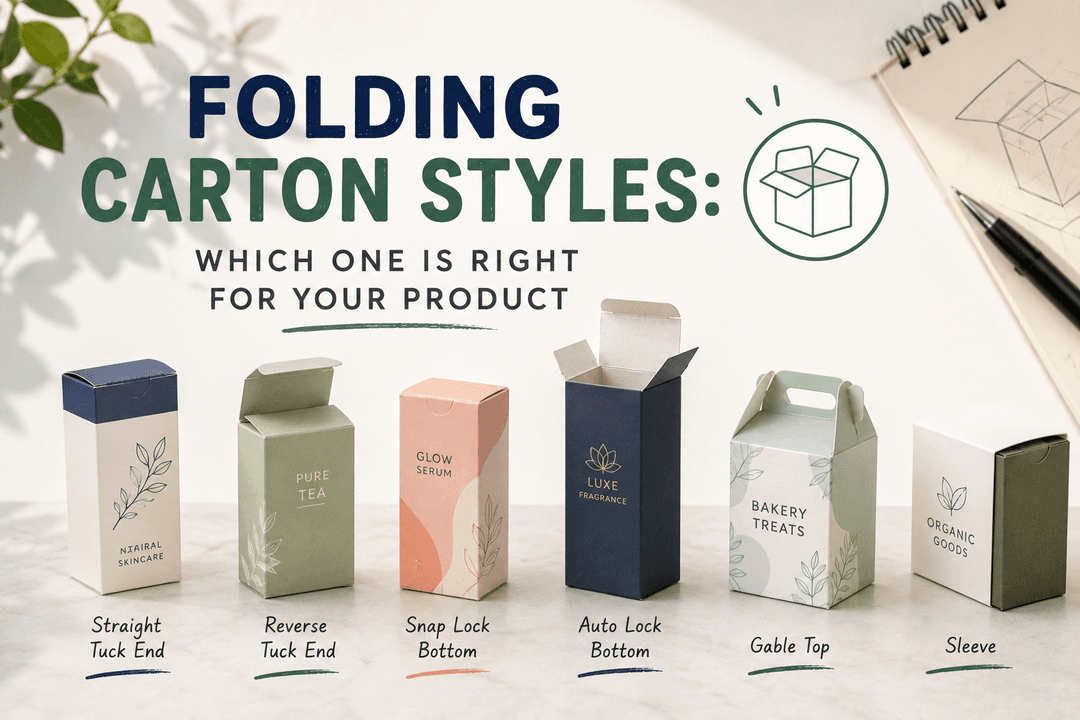
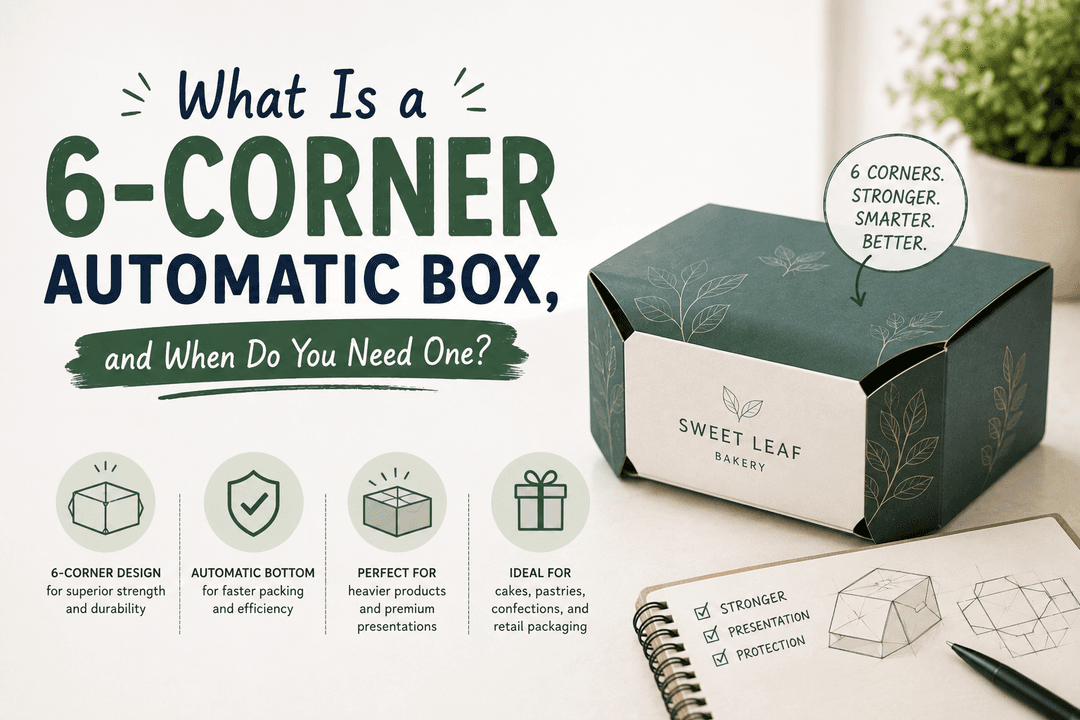
- Paperboard Boxes (Folding Cartons): The industry standard for cosmetics, pharmaceuticals, food, and lightweight retail items. They offer the best canvas for high-quality offset printing.
- Corrugated Boxes: Made with fluted layers of cardboard, these are essential for shipping heavy items, fragile goods, or e-commerce subscription boxes.
- Flexible Pouches: Stand-up pouches or flat sachets are lightweight and cost-effective, popular for coffee, snacks, and liquid refills.
- Rigid Alternatives (Tins, Glass, Plastic): Custom tins offer a keepsake quality, while glass and plastic are standard for liquids. (Pro tip: Many brands use glass or plastic for the primary container, and a custom folding carton as the secondary outer packaging!)
Step 3: Select Your Material and GSM Weight
If you choose paper-based packaging, your next decision is the "substrate"—the actual material the box is made of.
Material Type:
- White SBS Board (Solid Bleached Sulfate): Smooth, bright white, and perfect for vibrant, photographic printing.
- Kraft Board: Brown, unbleached paperboard that gives an earthy, organic, and eco-friendly vibe.
- Metalized Board: Paperboard coated in a thin metallic film, used to create highly reflective, luxury packaging.
Thickness and Weight (GSM): In the printing industry, paperboard weight is measured in GSM (Grams per Square Meter).
- 300 to 350 gsm: Great for lightweight items like small cosmetics, soaps, tea boxes, or baked goods.
- 400 to 500+ gsm: Required for heavier items like glass skincare bottles, beverages, candles, or larger electronics. Choosing a GSM that is too thin will cause your box to bulge or tear, while an unnecessarily heavy GSM will inflate your costs.
Step 4: The Dieline & Print Placement
You cannot just send a standard image file to a printer and expect a box. Your graphic designer must place your artwork onto a Dieline—a 2D structural blueprint provided by Printline that shows exactly where the box will be cut and folded.
During this phase, you must also decide on Print Placement:
- Outside-Only Printing: The exterior of the box is printed in full color, while the inside remains the natural color of the raw paperboard.
- Inside & Outside Printing (2-Sided): Printing a pattern, a solid brand color, or a thank-you message on the inside of the box is one of the easiest ways to create a premium, viral unboxing experience.
Step 5: Elevate with Premium Finishes
Premium finishes are applied after the ink is printed. They add tactile and visual elements that make customers want to pick your product up off the shelf.
- Coatings & Lamination: Do you want your box to be shiny (Gloss UV), glare-free (Matte lamination), or feel like velvet (Soft-Touch lamination)?
- Embossing & Debossing: Using a metal die to physically press your logo into the paper (embossing raises it up; debossing pushes it down).
- Foil Stamping: Applying a thin layer of metallic foil (gold, silver, holographic) to specific parts of your design.
- Spot UV: A clear, high-gloss coating applied only to specific areas (like your logo) to make them pop against a matte background.
Step 6: Prototyping and Proofing
Never rush to production without a proof. Before mass manufacturing begins, Printline will provide a Digital Proof (a final PDF showing your artwork on the dieline) and, upon request, a physical, unprinted structural sample (a "dummy").
You must print the digital proof out, fold it, check that your product fits, ensure logos aren't crossing fold lines, and meticulously spell-check your ingredients and contact info. If you approve the proof, that is exactly what will be printed!
Step 7: Partner with the Right Manufacturer
Finally, you need a manufacturing partner who aligns with your brand values and can actually execute your vision at scale. Look for a partner with the right credentials:
- Eco-Friendly Sourcing: Do they offer FSC-Certified paper to prove your packaging comes from responsibly managed forests?
- Food Safety: If your packaging touches food, supplements, or cosmetics, are they BRC-Certified to guarantee a hygienic production environment?
The Bottom Line: Don't Do It Alone
Designing custom packaging is a delicate balance of brand aesthetics, structural engineering, and budget. Making the wrong choice on paper weight or failing to understand the dieline can result in delayed launches or wasted money.
Let Printline Guide Your Packaging Journey
At Printline, we don't just print boxes—we act as your dedicated packaging consultants.
From helping you choose between a 300 gsm or 450 gsm board, to providing precise custom dielines for your graphic designer, our prepress and structural engineering teams are here to help. We guide you through every single step of this process so your final packaging looks beautiful, protects your product, and perfectly represents your brand.
Ready to start conceptualizing your custom packaging? Contact Printline today for a consultation, and let's build something incredible together!